

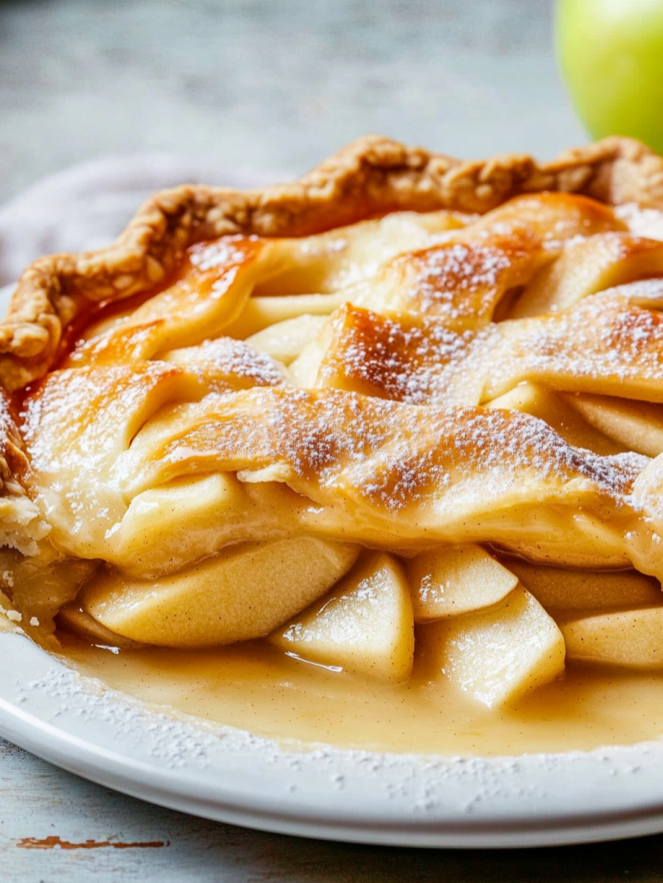
This is hands down the best and easiest apple pie recipe, designed for perfect results every time! It features a tender, flaky homemade pie crust filled with juicy, cinnamon-spiced apple slices. The filling strikes the perfect balance of sweetness and tartness, creating a truly classic dessert.
Cuisine: American
Prep Time: 1 hour
Cook Time: 1 hour
Total Time: 4 hours (including cooling time)
Servings: 8
Here’s a great video that shows the process of making an easy apple pie.
Why You’ll Love Making It
- Truly Beginner-Friendly: With clear, detailed instructions and pro-tips, this recipe demystifies the pie-making process.
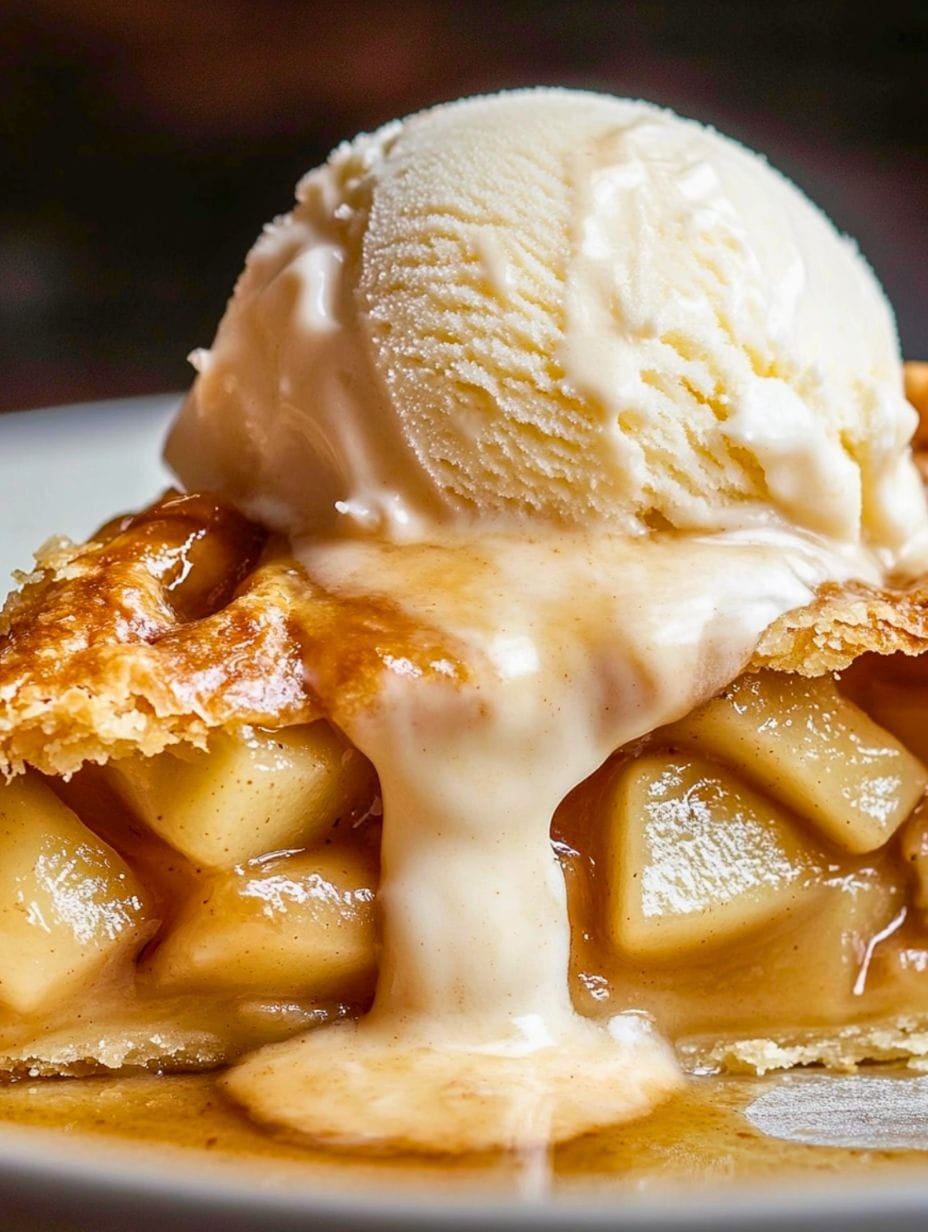
- The Ultimate Comfort Food: There’s nothing more comforting than the aroma of a freshly baked apple pie. It’s the perfect centerpiece for any occasion.
- Incredibly Flaky, Buttery Crust: The homemade crust is foolproof and results in a rich, tender, and flaky foundation for the delicious filling.
- Perfectly Balanced Filling: This recipe ensures a filling that is juicy but not watery, with apples that are tender but still hold their shape.
- A Holiday Favorite: Ideal for Thanksgiving, Christmas, or any special gathering, this pie is a guaranteed crowd-pleaser.
- Make-Ahead Friendly: You can prepare the pie dough in advance and even freeze the fully baked pie for a delicious dessert on demand.
Ingredients
For the Flaky Pie Crust (makes 2 crusts):
- 2 ½ cups All-Purpose Flour: The foundation of your crust.
- 1 teaspoon Salt: Enhances the flavor of the butter and flour.
- 1 cup (2 sticks) Cold Unsalted Butter, cubed: The key to a flaky crust. Keeping the butter cold creates steam pockets as it bakes, resulting in layers of flakiness.
- ½ cup Ice Water: Binds the dough together. Use just enough to make the dough hold its shape.
For the Apple Filling:
- 7 large Granny Smith apples (about 3.5 – 4 lbs): These apples are the best choice for pie because their firm texture holds up during baking, and their tartness balances the sugar beautifully.
- ½ cup Granulated Sugar: Provides clean sweetness.
- ½ cup Light Brown Sugar (loosely packed): Adds a rich, caramel-like depth of flavor.
- 2 tablespoons All-Purpose Flour: This acts as a thickener, absorbing the apple juices to create a luscious, sliceable filling rather than a watery one.
- 1 teaspoon Ground Cinnamon: The classic warm spice that is essential for apple pie.
- ⅛ teaspoon Ground Nutmeg: Adds a subtle warmth and complexity that complements the cinnamon.
- 1 tablespoon Lemon Juice (plus the zest of half a lemon): The acid in the lemon juice brightens the flavor of the apples and prevents them from browning while you prepare the filling.
- 1 large Egg (lightly beaten for egg wash): Brushing the top crust with an egg wash gives it a beautiful, golden, and glossy finish.
- 2 tablespoons Sanding Sugar (optional): Sprinkling this on top adds a delightful sparkle and a slightly crunchy texture.
Instructions
Step 1: Prepare the Pie Crust
If making from scratch, combine flour and salt in a large bowl. Cut in the cold, cubed butter using a pastry blender or your fingers until the mixture resembles coarse crumbs with pea-sized butter pieces. Gradually add ice water, one tablespoon at a time, until the dough just comes together. Divide the dough in half, form into two discs, wrap in plastic, and refrigerate for at least one hour. This chilling period is crucial for a flaky crust.
Step 2: Preheat the Oven and Prepare the Pan
Position an oven rack in the lower third of the oven and place a baking sheet on it to preheat. Preheat the oven to 400°F (204°C). The hot baking sheet will help cook the bottom crust quickly, preventing a soggy bottom.
Step 3: Make the Apple Filling
In a large mixing bowl, combine the sliced apples, granulated sugar, brown sugar, flour, cinnamon, nutmeg, lemon juice, and lemon zest. Toss everything together until the apple slices are evenly coated. Let this mixture sit for about 15-20 minutes while you roll out the crust. This allows the apples to start releasing their juices.
Step 4: Roll Out and Shape the Bottom Crust
Remove one disc of pie dough from the refrigerator. On a lightly floured surface, roll it out into a 12-inch circle. Carefully transfer the dough to a 9-inch deep-dish pie plate, pressing it gently into the bottom and up the sides without stretching it. Trim any excess dough, leaving a ½-inch overhang.
Step 5: Fill the Pie
Using a slotted spoon, transfer the apple filling into the pie crust, leaving most of the accumulated juices behind in the bowl (this is another key step to prevent a soggy crust). Mound the apples slightly higher in the center.
Step 6: Add the Top Crust and Seal
Roll out the second disc of dough. Gently place it over the filling. Trim the top crust, leaving a 1-inch overhang. Fold the top crust edge under the bottom crust edge and press firmly to seal. Crimp the edges using your fingers or a fork for a decorative finish.
Step 7: Vent and Brush the Pie
Use a sharp knife to cut 4-5 slits in the top crust to allow steam to escape during baking. Brush the entire top crust evenly with the beaten egg wash and sprinkle generously with sanding sugar, if using.
Step 8: Bake the Pie
Place the pie on the preheated baking sheet. Bake at 400°F (204°C) for 25 minutes. Then, reduce the oven temperature to 375°F (190°C). Continue to bake for another 30-35 minutes, or until the crust is a deep golden brown and you can see the filling bubbling thickly through the vents. If the edges start to brown too quickly, cover them with a pie shield or strips of aluminum foil.
Step 9: Cool Completely Before Serving
This is the most important step for a perfect slice! Once baked, remove the pie from the oven and let it cool on a wire rack for at least 3-4 hours. This allows the filling to set properly. Slicing into a warm pie will result in a runny filling.
FAQs
How do I prevent a soggy bottom crust?
The best methods are to preheat a baking sheet in the oven and bake the pie on it, and to avoid adding the excess liquid from the apple filling to the pie. You can also sprinkle a mixture of 1 teaspoon of flour and 1 teaspoon of sugar (often called “crust dust”) on the bottom crust before adding the filling to create a moisture barrier.
Can I use other types of apples?
Yes, while Granny Smith is recommended for its tartness and firmness, you can use a mix of apples for more complex flavor and texture. Good options to combine with Granny Smith include Honeycrisp, Braeburn, or Golden Delicious.
Can I make this pie ahead of time?
Absolutely. You can prepare and refrigerate the pie dough up to 3 days in advance. You can also assemble the entire pie (unbaked) and freeze it. When ready to bake, do so directly from frozen, adding about 15-20 minutes to the total baking time.
How do I store leftover apple pie?
Cover the pie loosely and store it at room temperature for up to 2 days. For longer storage, refrigerate for up to 5 days. You can enjoy it cold or reheat individual slices in the oven at 350°F (175°C) for about 10 minutes.
Easy Apple Pie
Ingredients
For the Flaky Pie Crust (makes 2 crusts)
- 2 ½ cups All-Purpose Flour
- 1 tsp Salt
- 1 cup Cold Unsalted Butter
- ½ cup Ice Water
For the Apple Filling
- 7 Large Granny Smith Apples
- ½ cup Granulated Sugar
- ½ cup Light Brown Sugar
- 2 tbsp All-Purpose Flour
- 1 tsp Ground Cinnamon
- ⅛ tsp Ground Nutmeg
- 1 tbsp Lemon Juice Plus half of the lemon zest.
- 1 Large Egg
- 2 tbsp Sanding Sugar Optional.
Instructions
- If making from scratch, combine flour and salt in a large bowl. Cut in the cold, cubed butter using a pastry blender or your fingers until the mixture resembles coarse crumbs with pea-sized butter pieces. Gradually add ice water, one tablespoon at a time, until the dough just comes together. Divide the dough in half, form into two discs, wrap in plastic, and refrigerate for at least one hour. This chilling period is crucial for a flaky crust.
- Position an oven rack in the lower third of the oven and place a baking sheet on it to preheat. Preheat the oven to 400°F (204°C). The hot baking sheet will help cook the bottom crust quickly, preventing a soggy bottom.
- In a large mixing bowl, combine the sliced apples, granulated sugar, brown sugar, flour, cinnamon, nutmeg, lemon juice, and lemon zest. Toss everything together until the apple slices are evenly coated. Let this mixture sit for about 15-20 minutes while you roll out the crust. This allows the apples to start releasing their juices.
- Remove one disc of pie dough from the refrigerator. On a lightly floured surface, roll it out into a 12-inch circle. Carefully transfer the dough to a 9-inch deep-dish pie plate, pressing it gently into the bottom and up the sides without stretching it. Trim any excess dough, leaving a ½-inch overhang.
- Using a slotted spoon, transfer the apple filling into the pie crust, leaving most of the accumulated juices behind in the bowl (this is another key step to prevent a soggy crust). Mound the apples slightly higher in the center.
- Roll out the second disc of dough. Gently place it over the filling. Trim the top crust, leaving a 1-inch overhang. Fold the top crust edge under the bottom crust edge and press firmly to seal. Crimp the edges using your fingers or a fork for a decorative finish.
- Use a sharp knife to cut 4-5 slits in the top crust to allow steam to escape during baking. Brush the entire top crust evenly with the beaten egg wash and sprinkle generously with sanding sugar, if using.
- Place the pie on the preheated baking sheet. Bake at 400°F (204°C) for 25 minutes. Then, reduce the oven temperature to 375°F (190°C). Continue to bake for another 30-35 minutes, or until the crust is a deep golden brown and you can see the filling bubbling thickly through the vents. If the edges start to brown too quickly, cover them with a pie shield or strips of aluminum foil.
- This is the most important step for a perfect slice! Once baked, remove the pie from the oven and let it cool on a wire rack for at least 3-4 hours. This allows the filling to set properly. Slicing into a warm pie will result in a runny filling.


hey sandra clare, can i use a store bought pie crust instead of making it myself? kinda short on time lol
Just made this pie and my family loved it. The instructions were so clear. Thank you, Sandra Clare!
looks yummy might try it this weekend
if i play music will the pie taste better?
Everyone knows homemade crust makes the pie. Store-bought? Please.
Pie is my fav! Can’t wait to try this recipe out!
is there a way to make this with less sugar? trying to cut back.
This recipe is quite basic. Not impressed.
What if I fill it with candies instead of apples? lol
seems like a lotta work just for pie
i usually mess up recipes but this one turned out great!
I’m obsessed with apple pies! Can’t wait to try this.
Tried this with my kids, and it was a hit. Great way to bond. Thanks!
ever tried making a pie… but like, upside down?
The tradition of apple pies dates back centuries. I love how some recipes like this keep history alive.
Can I use a kitchen robot to prep the filling?
Any tips on making this pie vegan? Would love to try it if I can adapt it.
Reminds me of the pies my grandma used to make. Love the traditional approach.
Not enough spice variety. Basic.
this pie was a hit at dinner! thanks for the awesome recipe, really brought the family together
Does it matter what kind of apples I use?
so excited to try this! baking’s my new hobby and this looks easy enough for me!
Interesting recipe. I wonder how the sugar caramelizes under heat and affects the flavor profile of the apples.
This was a challenging recipe for me, but I’m proud of the result. Can’t wait to try more!
absolutely loved making this, turned out better than expected, yolo
good recipe for the price, apples aren’t expensive and taste great in this!
Imagine a pie where each slice transports you to autumn, with golden leaves and a soft breeze.