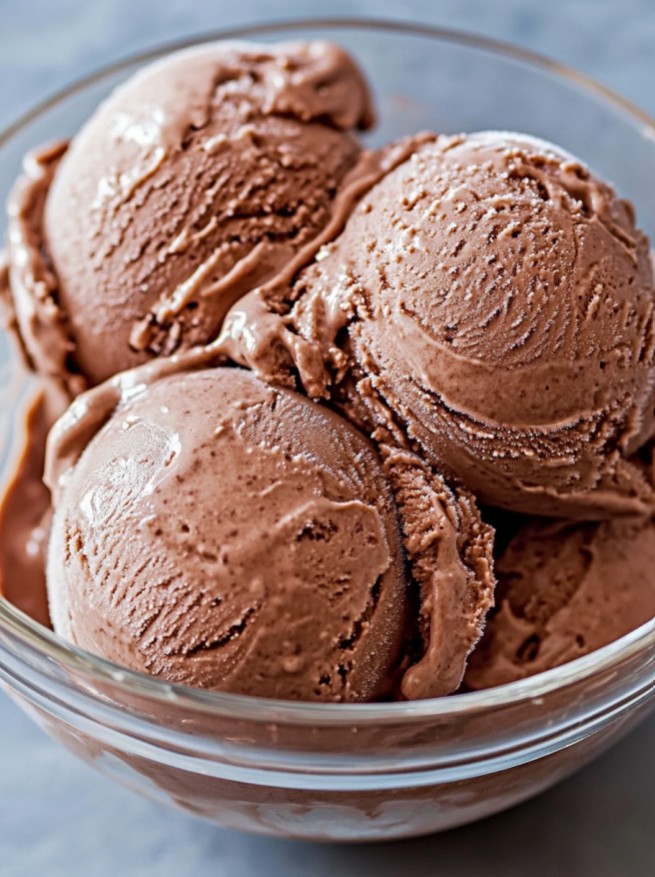
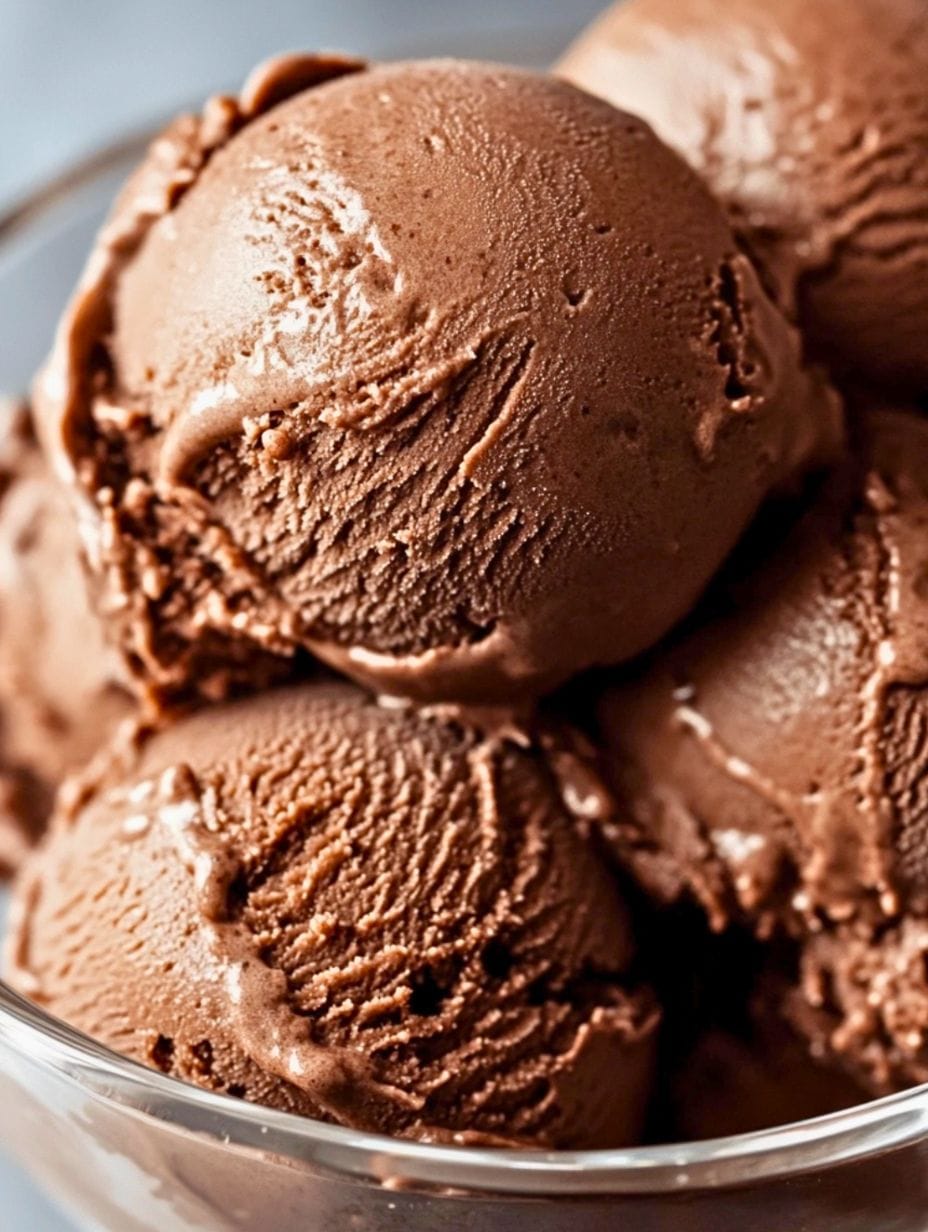
Forget everything you think you know about homemade ice cream. This recipe guides you through creating a luxuriously smooth, intensely chocolatey, and incredibly creamy ice cream that rivals any premium brand from the store. By using a classic custard base and two different forms of chocolate, we build layers of flavor and a velvety texture that is pure bliss.

Cuisine: American
Prep Time: 20 minutes
Cooking Time: 20 minutes
Chilling/Churning Time: 12 hours
Total Time: 12 hours 40 minutes
Servings: 12
Here’s a great video that shows the process of making simple chocolate ice cream.
Why You’ll Love Making It
- Incredibly Rich Flavor: Using both high-quality cocoa powder and real semisweet chocolate creates a deep, complex chocolate taste that is never flat or overly sweet.
- Luxuriously Creamy Texture: The French-style custard base, made with egg yolks, is the secret to an ultra-smooth, dense, and velvety mouthfeel without any iciness.
- Completely Beginner-Friendly: Every step is broken down with detailed tips, explaining not just what to do, but why you’re doing it—from tempering eggs to the final freeze.
- Better Than Store-Bought: You control the quality of the ingredients, meaning no artificial flavors or preservatives—just pure, delicious, homemade goodness.
- A Perfect Base for Creativity: This recipe is fantastic on its own but also serves as the perfect canvas for your favorite mix-ins like brownie chunks, chocolate chips, or a caramel swirl.

Ingredients
- 2 cups Heavy Cream, divided: This is the cornerstone of your ice cream’s richness. The high-fat content minimizes the formation of ice crystals, which is the key to a creamy texture. We divide it to help melt the chocolate smoothly without scorching it.
- 1 ½ cups Whole Milk: Provides the necessary liquid for the base while balancing the richness of the cream. Do not substitute with low-fat milk, as the lower fat content will result in a more icy texture.
- ¾ cup Granulated Sugar: Sugar does more than just sweeten; it’s crucial for the texture. It lowers the freezing point of the mixture, preventing it from freezing rock-solid and keeping it scoopable.
- 6 ounces Semisweet Chocolate, chopped (or chocolate chips): This is for deep flavor and a fudgy texture. Use a quality chocolate bar (around 60% cacao) that you enjoy eating on its own. It melts into the custard for extra creaminess.
- ¼ cup Unsweetened Cocoa Powder: This provides the foundational, intense chocolate flavor. For a smoother, less acidic taste, Dutch-process cocoa powder is highly recommended. Sifting the cocoa powder before use will prevent lumps.
- 3 Large Egg Yolks, beaten: Egg yolks are natural emulsifiers and thickeners. They add richness and are essential for creating the thick, stable custard base that makes this ice cream so smooth and creamy.
- ½ teaspoon Pure Vanilla Extract: A small amount of vanilla doesn’t make the ice cream taste like vanilla; instead, it enhances and rounds out the chocolate flavor, adding a layer of complexity.
- ⅛ teaspoon Sea Salt: Salt is a flavor enhancer. A tiny pinch will make the chocolate taste more chocolatey and cut through the sweetness for a more balanced profile.
Instructions
Step 1: Prepare the Chocolate Base
In a medium, heavy-bottomed saucepan, whisk together 1 cup of the heavy cream with the sifted cocoa powder. A heavy-bottomed pot distributes heat more evenly, preventing scorching. Bring the mixture to a gentle boil over medium heat, then reduce the heat to a simmer for 30 seconds, whisking constantly. This “blooms” the cocoa, deepening its flavor. Remove the pan from the heat and immediately add the chopped semisweet chocolate. Stir until the chocolate is completely melted and the mixture is glossy and smooth. Whisk in the remaining 1 cup of heavy cream and the vanilla extract.
Step 2: Set Up for Straining
Pour this rich chocolate mixture into a large, heatproof bowl. Place a fine-mesh strainer over the top of the bowl and set it aside. This setup is crucial for the next step to ensure a perfectly silky final product.
Step 3: Make the Custard and Temper the Eggs
In the same saucepan (no need to wash it), combine the whole milk, sugar, and sea salt. Warm this mixture over medium heat, stirring until the sugar has completely dissolved. Do not let it boil.
Step 4: Temper the Eggs
In a separate medium bowl, whisk your egg yolks until they are smooth and slightly pale.
While whisking the yolks constantly with one hand, use a ladle to slowly drizzle about a half-cup of the warm milk mixture into the eggs. Keep whisking the entire time!
Once the first ladle of milk is incorporated, slowly pour the now-warmed egg yolk mixture back into the saucepan with the rest of the milk, whisking constantly.
Step 5: Thicken the Custard
Return the saucepan to medium-low heat. Cook the custard, stirring constantly with a heatproof spatula, making sure to scrape the bottom and corners of the pot. The custard will slowly thicken. This should take 5-7 minutes. You’ll know it’s ready when it’s thick enough to coat the back of the spatula, and when you draw a finger across it, the line holds its shape. If you have a thermometer, it should read 170°F (77°C). Do not let it boil, or the eggs will curdle.
Step 6: Combine, Chill, and “Age” the Base
Immediately pour the hot custard through the fine-mesh strainer into the bowl with the chocolate mixture. This will catch any small bits of cooked egg that may have formed. Stir the combined base until it is completely uniform.
This next step is critical: The base must be completely cold before churning. Cover the bowl with plastic wrap, pressing it directly onto the surface to prevent a skin from forming. Refrigerate for at least 6 hours, but for the best texture, chill it overnight. This “aging” period allows the fat to solidify and the proteins to relax, resulting in a creamier final product.
Step 7: Churn the Ice Cream
Pour the chilled chocolate base into your ice cream maker and churn according to the manufacturer’s instructions. It will typically take 20-30 minutes. The ice cream is ready when it has thickened to the consistency of soft-serve.
Step 8: Harden and Ripen
Transfer the churned ice cream to an airtight, freezer-safe container. Press a piece of parchment paper or plastic wrap directly on the surface to prevent ice crystals, then seal the container. Freeze for at least 6 hours to allow the ice cream to “ripen” and firm up to a scoopable consistency.
FAQs
Why is my homemade ice cream icy?
Iciness is caused by the formation of large ice crystals. This can happen for a few reasons: the base wasn’t chilled enough before churning, your freezer isn’t cold enough, or the recipe has too much water (e.g., from using low-fat milk). Following this recipe’s use of high-fat dairy and proper chilling will prevent this.
Can I make this without an ice cream maker?
Yes, though the texture will be slightly different. Pour the chilled base into a shallow, freezer-safe dish. Freeze for 45 minutes, then remove and stir vigorously with a whisk or fork, breaking up any frozen bits. Return to the freezer and repeat this process every 30 minutes for 2-3 hours until it’s firm.
How long does homemade chocolate ice cream last?
Stored properly in an airtight container at the back of the freezer, it will maintain its best texture for up to 2 weeks. After that, it’s still safe to eat but may start to develop some ice crystals.
Can I reduce the amount of sugar?
It is not recommended to significantly reduce the sugar. Sugar is vital for the ice cream’s soft, scoopable texture by lowering the mixture’s freezing point. Reducing it too much will result in a harder, icier product.

Easy Chocolate Ice Cream
Ingredients
- 2 cup Heavy Cream
- 1 ½ cup Whole Milk
- ¾ cup Granulated Sugar
- 6 oz Semisweet Chocolate
- ¼ cup Unsweetened Cocoa Powder
- 3 Large Egg Yolks Beaten.
- ½ tsp Pure Vanilla Extract
- ⅛ tsp Seasalt
Instructions
- In a medium, heavy-bottomed saucepan, whisk together 1 cup of the heavy cream with the sifted cocoa powder. A heavy-bottomed pot distributes heat more evenly, preventing scorching. Bring the mixture to a gentle boil over medium heat, then reduce the heat to a simmer for 30 seconds, whisking constantly. This “blooms” the cocoa, deepening its flavor. Remove the pan from the heat and immediately add the chopped semisweet chocolate. Stir until the chocolate is completely melted and the mixture is glossy and smooth. Whisk in the remaining 1 cup of heavy cream and the vanilla extract.
- Pour this rich chocolate mixture into a large, heatproof bowl. Place a fine-mesh strainer over the top of the bowl and set it aside. This setup is crucial for the next step to ensure a perfectly silky final product.
- In the same saucepan (no need to wash it), combine the whole milk, sugar, and sea salt. Warm this mixture over medium heat, stirring until the sugar has completely dissolved. Do not let it boil.
- In a separate medium bowl, whisk your egg yolks until they are smooth and slightly pale.While whisking the yolks constantly with one hand, use a ladle to slowly drizzle about a half-cup of the warm milk mixture into the eggs. Keep whisking the entire time!Once the first ladle of milk is incorporated, slowly pour the now-warmed egg yolk mixture back into the saucepan with the rest of the milk, whisking constantly.
- Return the saucepan to medium-low heat. Cook the custard, stirring constantly with a heatproof spatula, making sure to scrape the bottom and corners of the pot. The custard will slowly thicken. This should take 5-7 minutes. You’ll know it’s ready when it’s thick enough to coat the back of the spatula, and when you draw a finger across it, the line holds its shape. If you have a thermometer, it should read 170°F (77°C). Do not let it boil, or the eggs will curdle.
- Immediately pour the hot custard through the fine-mesh strainer into the bowl with the chocolate mixture. This will catch any small bits of cooked egg that may have formed. Stir the combined base until it is completely uniform.This next step is critical: The base must be completely cold before churning. Cover the bowl with plastic wrap, pressing it directly onto the surface to prevent a skin from forming. Refrigerate for at least 6 hours, but for the best texture, chill it overnight. This “aging” period allows the fat to solidify and the proteins to relax, resulting in a creamier final product.
- Pour the chilled chocolate base into your ice cream maker and churn according to the manufacturer’s instructions. It will typically take 20-30 minutes. The ice cream is ready when it has thickened to the consistency of soft-serve.
- Transfer the churned ice cream to an airtight, freezer-safe container. Press a piece of parchment paper or plastic wrap directly on the surface to prevent ice crystals, then seal the container. Freeze for at least 6 hours to allow the ice cream to “ripen” and firm up to a scoopable consistency.


hey was wondering if i could just skip the chilling part, got kids yellin they want ice cream now, not in 12 hours lol Sandra Clare any shortcuts?
Try putting it in the freezer for a bit, works faster than you’d think!
u gotta wait for the good stuff, patience!
imagine studying for finals and all u wanna do is make ice cream, cause same
Is there a way to make this with less sugar? Asking for my gym buddies.
Finally a recipe that gets how important chocolate is, can’t wait to try!
12 hours to make ice cream? I’ll stick to store-bought, thanks.
love trying new recipes, this looks super easy and delish!
Does anyone else add weird toppings to their ice cream? Just me?
This recipe looks divine! Can’t wait to feature it on my blog.
12 hours for ice cream? Who has that kind of time?
Wonder if there’s a tech gadget that can make this faster. Anyone know?
Any subs for dairy? Lactose isn’t my friend but this sounds so good.
this is exactly what i been lookin for, simple and sweet!
tried this, it’s ok but nothing special, seen better recipes tbh.
Baking’s my jam, but ice cream? This I gotta try. Looks amazing!
so how do I know when the custard’s thick enough, like wat texture we talkin?
Curious about the calorie count for this recipe. Anyone done the math?
Pairing this with a red wine could be interesting. Thoughts?
12 hours??? ain’t nobody got time for that, ridiculous.
Is there a more eco-friendly way to make this ice cream?
Actually, the physics of ice cream making is quite fascinating. The freezing point depression is key to the creamy texture.
omg, making this ASAP! always wanted to make homemade ice cream, looks soo yum!
Let us know how it turns out! Homemade is always best!
is it really beginner-friendly? don’t wanna mess it up and waste ingredients.