
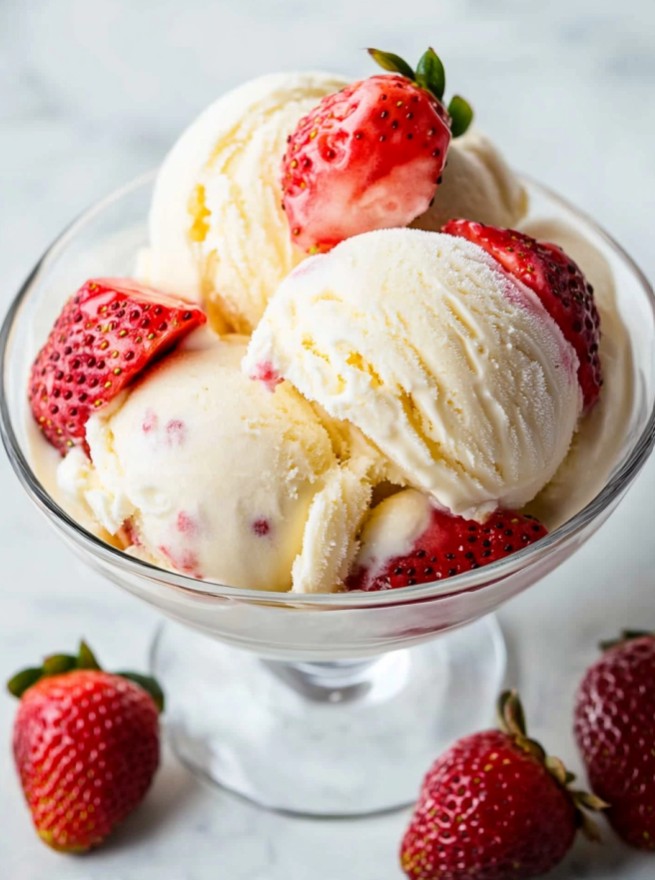
Making your own vanilla ice cream is one of life’s simplest pleasures, and this recipe proves you don’t need a long list of ingredients or complicated steps to achieve perfection. We’re making a classic Philadelphia-style ice cream, which means there are no eggs to temper or custards to cook.
Save This Recipe! 💌
Cuisine: American
Prep Time: 30 minutes
Chilling Time: 2 hours
Total Time: 2 hours 30 minutes
Servings: 4 to 8
Here’s a great video that shows the process of making homemade vanilla ice cream.
Why You’ll Love Making It
- Perfect for Beginners (Just 5 Ingredients!): No cooking, no eggs, no complicated steps. If you’ve ever been intimidated by making ice cream, this is the foolproof recipe to start with.
- Luxuriously Creamy & Smooth: The combination of high-fat heavy cream and whole milk creates a rich, velvety texture with minimal ice crystals—the hallmark of truly great ice cream.
- Pure, All-Natural Flavor: You control the ingredients, which means no artificial flavors, colors, or stabilizers. It’s just pure dairy, real vanilla, and sugar. The taste is clean, fresh, and authentically delicious.
- The Perfect Blank Canvas: This simple vanilla ice cream is the ideal base for customization. Swirl in caramel or fudge, add chocolate chips, toss in fresh berries, or sprinkle with crushed cookies. The possibilities are endless!
Ingredients
- 1½ cups heavy cream: This is the most important ingredient for a creamy texture. The high fat content is what prevents the ice cream from becoming icy. Use a high-quality heavy cream or heavy whipping cream with at least 36% milkfat.
- 1½ cups whole milk: This balances the richness of the heavy cream, keeping the ice cream from feeling too dense or greasy. Do not substitute with low-fat or skim milk, as it will result in a hard, icy texture.
- ⅔ cup granulated sugar: Sugar does more than just sweeten the ice cream; it lowers the freezing point of the mixture, which is essential for a soft, scoopable consistency.
- 2 teaspoons pure vanilla extract: Since vanilla is the star flavor, use the best quality you can find. Pure vanilla extract provides a much richer and more complex flavor than imitation vanilla. For an even more intense flavor, you can use one vanilla bean pod or 1 teaspoon of vanilla bean paste.
- ⅛ teaspoon fine sea salt: Don’t skip this! A small amount of salt won’t make the ice cream taste salty. Instead, it enhances the sweetness and deepens the vanilla flavor, making everything taste more vibrant.
Instructions
Step 1: Prepare the Ice Cream Base
In a medium bowl, whisk together the heavy cream, whole milk, granulated sugar, and salt until the sugar is completely dissolved. You can do this by hand for a minute or two. There’s no need to heat the mixture unless you are using a whole vanilla bean to infuse the flavor. Stir in the vanilla extract.
Step 2: Chill the Mixture (The Most Important Step!)
Cover the bowl with plastic wrap and refrigerate the ice cream base for at least 4 hours, or preferably overnight. Why this is so important: A thoroughly chilled base churns faster and results in a creamier texture with smaller ice crystals. A warm base will create large, crunchy ice crystals. For best results, you can even chill the mixture in an ice bath for 30 minutes before placing it in the refrigerator.
Step 3: Churn the Ice Cream
Pour the cold ice cream base into the freezer bowl of your ice cream maker. Churn for 20 to 25 minutes, or according to your manufacturer’s instructions. The ice cream is ready when it has thickened to the consistency of soft-serve.
Step 4: Add Mix-Ins (Optional)
If you’re adding chocolate chips, chopped nuts, or other solid mix-ins, pour them in during the last minute of churning to ensure they are evenly distributed.
Step 5: Harden the Ice Cream (Ripen)
Transfer the soft-serve ice cream into a freezer-safe, airtight container. A loaf pan or a specialty ice cream container works well. Press a piece of parchment paper or plastic wrap directly onto the surface of the ice cream to prevent ice crystals from forming, then seal the container.
Freeze for at least 2-4 hours, or until the ice cream is firm and scoopable. This final freezing stage is called “ripening” and is essential for developing the final texture.
Step 6: Serve and Store
Let the ice cream sit at room temperature for 5-10 minutes to soften slightly before scooping.
Store any leftovers in an airtight container in the back of your freezer for up to 2 weeks for the best texture and flavor.
FAQs
Can I make this ice cream without an ice cream maker?
Yes, you can! Pour the chilled base into a shallow, freezer-safe dish (like a loaf pan). Freeze for 45 minutes. Remove it from the freezer and stir vigorously with a whisk or fork, breaking up any frozen bits. Return to the freezer. Repeat this process every 30-45 minutes for 2-3 hours, until the ice cream is firm but smooth. The texture will be slightly denser than machine-churned ice cream, but still delicious.
Why is my homemade ice cream icy?
Iciness is usually caused by one of three things: 1) The base wasn’t cold enough before churning, 2) The recipe didn’t have enough fat (don’t use low-fat milk!), or 3) The freezer bowl of your ice cream maker wasn’t fully frozen.
Can I use a different type of sugar?
You can experiment with brown sugar for a slight caramel note, but avoid liquid sweeteners like honey or maple syrup on your first try, as they can significantly alter the texture and make the ice cream softer and more prone to melting.
How long does homemade ice cream last in the freezer?
Because it doesn’t contain commercial stabilizers or preservatives, homemade ice cream is best enjoyed within 1-2 weeks. After that, it’s still safe to eat but may start to develop ice crystals. Storing it in an airtight container in the coldest part of your freezer (usually the back) helps maintain its quality.
Easy & Delicious Vanilla Ice Cream
Ingredients
- 1½ cup Heavy Cream Use a high-quality heavy cream or heavy whipping cream with at least 36% milkfat.
- 1½ cup Whole Milk Do not substitute with low-fat or skim milk, as it will result in a hard, icy texture.
- ⅔ cup Granulated Sugar
- 2 tsp Pure Vanilla Extract
- ⅛ tsp Fine Sea Salt Don’t skip this! A small amount of salt won’t make the ice cream taste salty.
Instructions
- In a medium bowl, whisk together the heavy cream, whole milk, granulated sugar, and salt until the sugar is completely dissolved. You can do this by hand for a minute or two. There’s no need to heat the mixture unless you are using a whole vanilla bean to infuse the flavor. Stir in the vanilla extract.
- Cover the bowl with plastic wrap and refrigerate the ice cream base for at least 4 hours, or preferably overnight.
- Pour the cold ice cream base into the freezer bowl of your ice cream maker. Churn for 20 to 25 minutes, or according to your manufacturer’s instructions. The ice cream is ready when it has thickened to the consistency of soft-serve.
- If you’re adding chocolate chips, chopped nuts, or other solid mix-ins, pour them in during the last minute of churning to ensure they are evenly distributed.
- Transfer the soft-serve ice cream into a freezer-safe, airtight container. A loaf pan or a specialty ice cream container works well. Press a piece of parchment paper or plastic wrap directly onto the surface of the ice cream to prevent ice crystals from forming, then seal the container.Freeze for at least 2-4 hours, or until the ice cream is firm and scoopable. This final freezing stage is called “ripening” and is essential for developing the final texture.
- Let the ice cream sit at room temperature for 5-10 minutes to soften slightly before scooping.Store any leftovers in an airtight container in the back of your freezer for up to 2 weeks for the best texture and flavor.