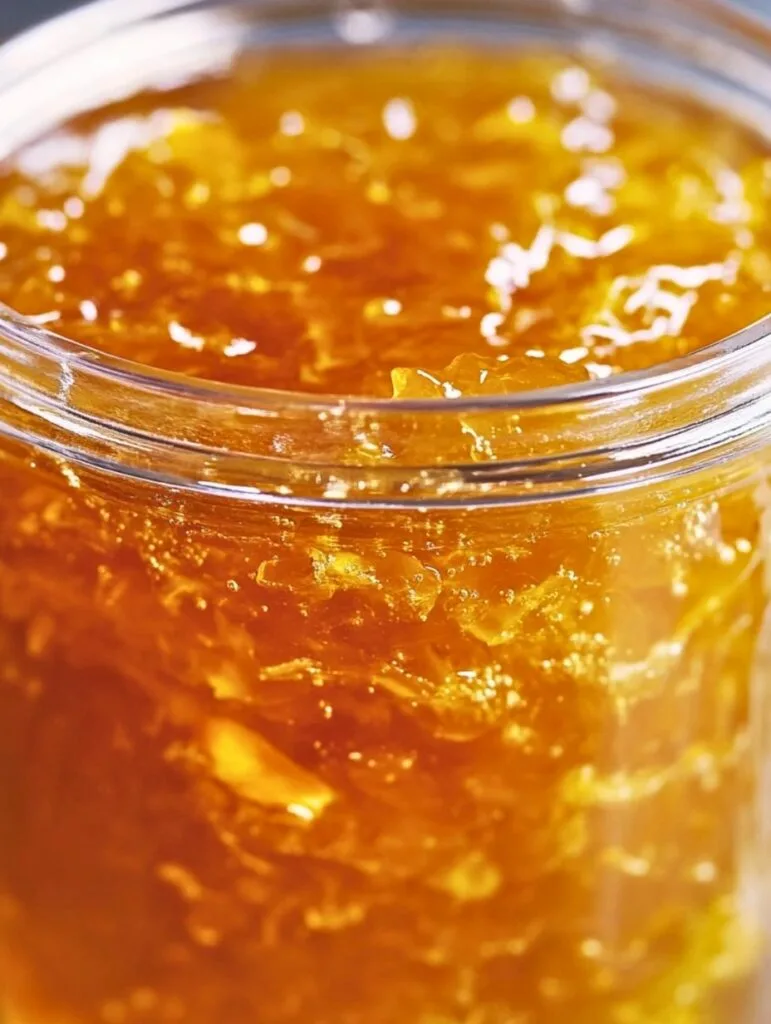
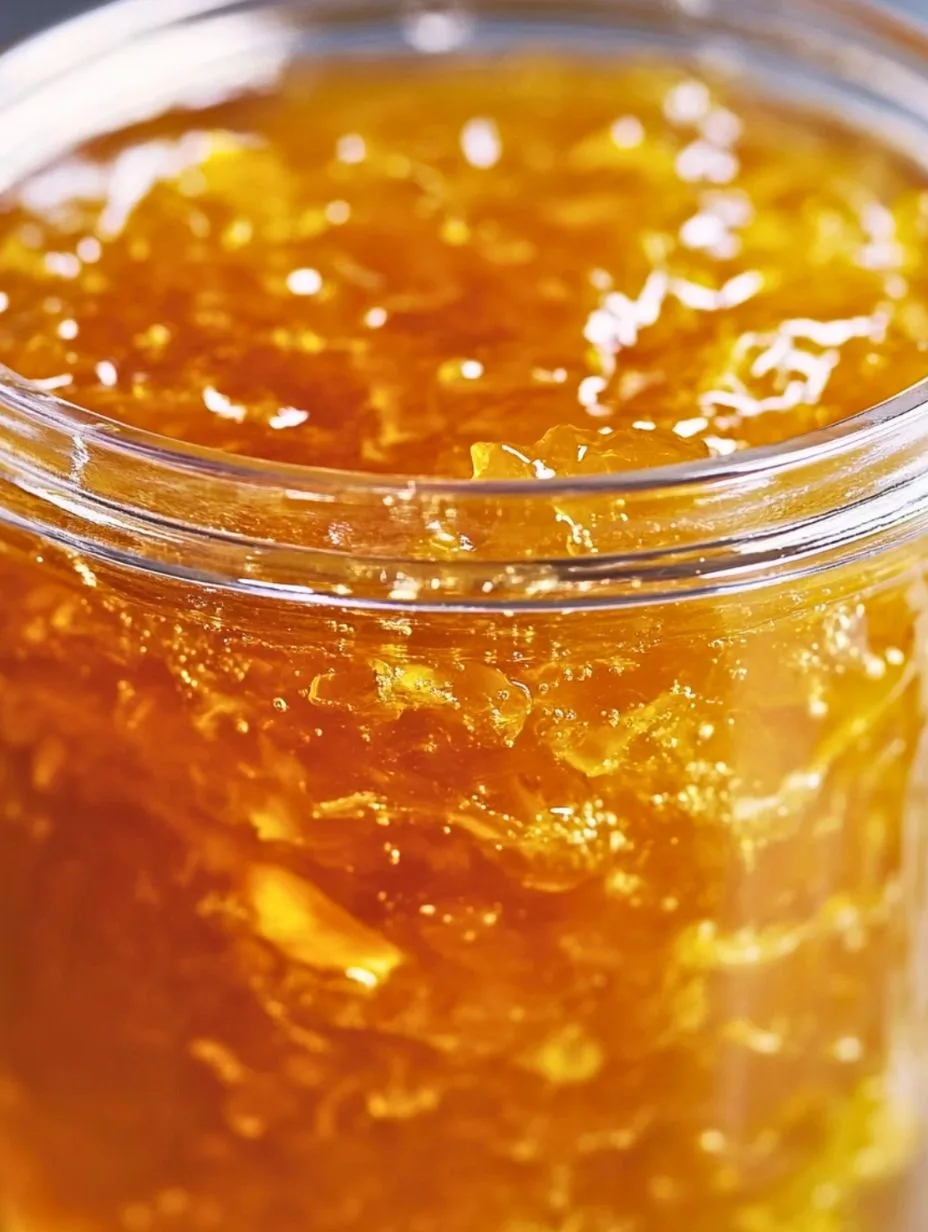
Homemade orange marmalade strikes the perfect balance of sweet, tangy, and sophisticated bitterness, making it a timeless classic. This recipe is specifically designed for beginners, using a straightforward method that guarantees a delicious, perfectly set marmalade without any special equipment or complicated steps.

Save This Recipe! 💌
Cuisine: British
Prep Time: 15 minutes
Cooking Time: 1 hour 30 minutes
Resting Time: 24 hours
Total Time: 1 day 1 hour 45 minutes
Servings: 4 cups
Here’s a great video that shows the process of making orange marmalade.
Why You’ll Love Making It
- Incredibly Fresh Flavor: Made without artificial preservatives or pectin, the pure, zesty flavor of fresh oranges and lemon shines through. The taste is far superior to any commercial brand.
- Perfect for Beginners: This recipe simplifies the marmalade-making process. By using the whole fruit and a long soaking period, we naturally extract all the pectin needed for a perfect set.
- Amazingly Versatile: While a classic on buttered toast, this marmalade is also a fantastic glaze for roasted chicken or pork, a topping for yogurt and scones, or even a secret ingredient in cocktails and salad dressings.
- A Heartfelt, Homemade Gift: A beautifully sealed jar of homemade orange marmalade makes a thoughtful and impressive gift for friends, family, and neighbors.

Ingredients
- 2 large Navel Oranges (about 12 oz / 340g total): Navel oranges are an excellent choice for beginners. They are sweet, seedless, and have a thick skin that is perfect for creating tender shreds of peel in your marmalade. Ensure they are fresh and firm.
- 1 small Lemon (about 2 oz / 57g): The lemon is a non-negotiable secret weapon. It provides essential pectin (a natural gelling agent found in citrus pith and seeds) which helps the marmalade set, and its acidity brightens and balances the sweetness of the oranges.
- 2 cups (16 fl oz / 480ml) Water: Water is used to soften the citrus peel and, most importantly, to help extract the natural pectin from the fruit during the soaking and initial cooking phase.
- 2 cups (16 oz / 454g) Granulated Sugar: Sugar does more than just sweeten the marmalade. It is a vital preservative that ensures your marmalade will last for weeks, and it also plays a key role in helping the mixture thicken and achieve its signature gel-like consistency.
Instructions
Step 1: Prepare the Fruit
Wash the oranges and lemon thoroughly under running water, scrubbing the skins to remove any wax or dirt. Pat them dry. Using a sharp knife, slice the ends off the oranges and lemon and discard them. Cut the fruit in half, and then slice each half into very thin, half-moon shapes. From there, you can chop these slices into smaller, bite-sized pieces. The goal is to have small, uniform pieces of peel and fruit. As you chop, remove and discard any seeds you might find (Navel oranges should have few, if any).
Step 2: The Essential 24-Hour Soak
Place all the chopped oranges and lemon into a medium, non-reactive saucepan (such as stainless steel or enamel). Pour in the water. Bring the mixture to a simmer over medium heat. As soon as it begins to simmer, turn off the heat, place a lid on the saucepan, and let it sit at room temperature for 24 hours. This soaking step is crucial—it softens the peel and extracts the maximum amount of natural pectin, which is the key to a perfectly set marmalade.
Step 3: Cook the Fruit Mixture
The next day, return the saucepan to the stove over medium heat. Bring the mixture back to a gentle simmer and cook, uncovered, for about 45 minutes to 1 hour. Stir occasionally. You are looking for two things to happen: the liquid should reduce by about half, and the citrus peels should become very soft and translucent.
Step 4: Add Sugar and Thicken
Once the peels are tender, stir in the sugar until it completely dissolves. Increase the heat to medium-high to bring the mixture to a rapid, rolling simmer. Let it cook for 15-25 minutes, stirring frequently to prevent the sugar from catching on the bottom and burning. The marmalade will begin to thicken and look glossy.
Step 5: Test for the Perfect Set
This is the most important step. Before you start cooking, place a few small plates in your freezer to get very cold. To check if the marmalade is ready, turn off the heat. Spoon a small amount of the marmalade onto one of the frozen plates and place it back in the freezer for 1-2 minutes. After a couple of minutes, remove the plate and gently push the marmalade with your finger. If it wrinkles and feels gel-like, it’s done. If it’s still runny, turn the heat back on and continue simmering for another 3-5 minutes before testing again.
Step 6: Cool and Store
Once the marmalade has reached its setting point, remove it from the heat. Let it cool in the saucepan for about 10-15 minutes; this allows the peel to distribute evenly throughout the mixture instead of floating to the top. Carefully pour the warm marmalade into clean, airtight jars. Allow it to cool completely on the counter before sealing and storing it in the refrigerator. It will last for up to 6 weeks.
FAQs
Can I use different types of oranges?
Yes! While navel oranges are great for a sweeter marmalade, traditionalists love Seville oranges for their characteristic bitter taste. You could also use blood oranges for a beautiful color or mandarins for a sweeter, more delicate flavor.
Why is my marmalade too bitter?
The bitterness in marmalade comes from the white pith of the citrus peel. This recipe is designed to have a pleasant, balanced bitterness. However, if you are sensitive to it, you can use thin-skinned oranges or carefully trim away some of the excess white pith before chopping the fruit.
Can I reduce the amount of sugar in this recipe?
It is not recommended to significantly reduce the sugar. The sugar-to-fruit ratio is essential not only for sweetness but also for helping the marmalade set correctly and preserving it. Reducing the sugar will affect the final texture and shelf life.
My marmalade didn’t set. What can I do?
If your marmalade is too runny after cooling, it likely wasn’t cooked long enough to reach the setting point. You can pour it back into the saucepan and cook it at a rapid simmer for another 5-10 minutes, then perform the wrinkle test again before re-jarring.

Easy Orange Marmalade
Ingredients
- 2 Large Navel Oranges
- 1 Small Lemon
- 2 cup Water
- 2 cup Granulated Sugar
Instructions
- Wash the oranges and lemon thoroughly under running water, scrubbing the skins to remove any wax or dirt. Pat them dry. Using a sharp knife, slice the ends off the oranges and lemon and discard them. Cut the fruit in half, and then slice each half into very thin, half-moon shapes. From there, you can chop these slices into smaller, bite-sized pieces. The goal is to have small, uniform pieces of peel and fruit. As you chop, remove and discard any seeds you might find (Navel oranges should have few, if any).
- Place all the chopped oranges and lemon into a medium, non-reactive saucepan (such as stainless steel or enamel). Pour in the water. Bring the mixture to a simmer over medium heat. As soon as it begins to simmer, turn off the heat, place a lid on the saucepan, and let it sit at room temperature for 24 hours. This soaking step is crucial—it softens the peel and extracts the maximum amount of natural pectin, which is the key to a perfectly set marmalade.
- The next day, return the saucepan to the stove over medium heat. Bring the mixture back to a gentle simmer and cook, uncovered, for about 45 minutes to 1 hour. Stir occasionally. You are looking for two things to happen: the liquid should reduce by about half, and the citrus peels should become very soft and translucent.
- Once the peels are tender, stir in the sugar until it completely dissolves. Increase the heat to medium-high to bring the mixture to a rapid, rolling simmer. Let it cook for 15-25 minutes, stirring frequently to prevent the sugar from catching on the bottom and burning. The marmalade will begin to thicken and look glossy.
- This is the most important step. Before you start cooking, place a few small plates in your freezer to get very cold. To check if the marmalade is ready, turn off the heat. Spoon a small amount of the marmalade onto one of the frozen plates and place it back in the freezer for 1-2 minutes. After a couple of minutes, remove the plate and gently push the marmalade with your finger. If it wrinkles and feels gel-like, it’s done. If it’s still runny, turn the heat back on and continue simmering for another 3-5 minutes before testing again.
- Once the marmalade has reached its setting point, remove it from the heat. Let it cool in the saucepan for about 10-15 minutes; this allows the peel to distribute evenly throughout the mixture instead of floating to the top. Carefully pour the warm marmalade into clean, airtight jars. Allow it to cool completely on the counter before sealing and storing it in the refrigerator. It will last for up to 6 weeks.


hey Sandra Clare, can I use frozen fruit or does it gotta be fresh?
lol never thought about soaking fruit before cooking it. Sounds like a game changer for my bbq sauce.
soaking fruit helps with flavor but watch out not to make it too mushy for a sauce!
step 3: don’t burn your dorm down trying to cook the mixture lol
This article makes the process sound so fun! Can’t wait to try it.
is this safe to make with a toddler? trying to find cooking stuff we can do together.
how long can you actually store this for? says cool and store but doesn’t give a timeframe.
imagine if fruits could soak up magic instead of water and we could eat enchanted jam.
Adding sugar? Not for me, thanks. Trying to avoid processed foods.
Making jam to the tune of MJ, that’s how I roll!
Step 7: Hide the evidence. Oh wait, wrong article.
Love the idea of preserving fruits from my travels! This article is a gem.
Interesting method. I wonder about the storytelling behind each fruit choice.
can i code an app to do this for me or what?
does this recipe work for protein shakes?
How about suggesting sustainable sugar options? It’s important to consider the planet.
interesting read. thanks.
making this feels like I’m in a superhero movie with all the steps, so cool!
SUGAR IS A CONTROL TACTIC BY THE GOVERNMENT. WAKE UP PEOPLE.
Can’t wait to make this with my grandkids! Thank you for the lovely recipe.
The process of preserving fruit dates back centuries, interesting to see modern takes on it.
yum! can’t wait to try this, sounds delicious. love me some snacks.
If we use alien fruits, does the method change? Asking for a friend from Mars.
The steps are rudimentary. Lacks innovation.
Step 7: Don’t accidentally make a fruit taco. Or do? Could be a new thing.
The art of preservation, timeless indeed. Might try my hand at it.