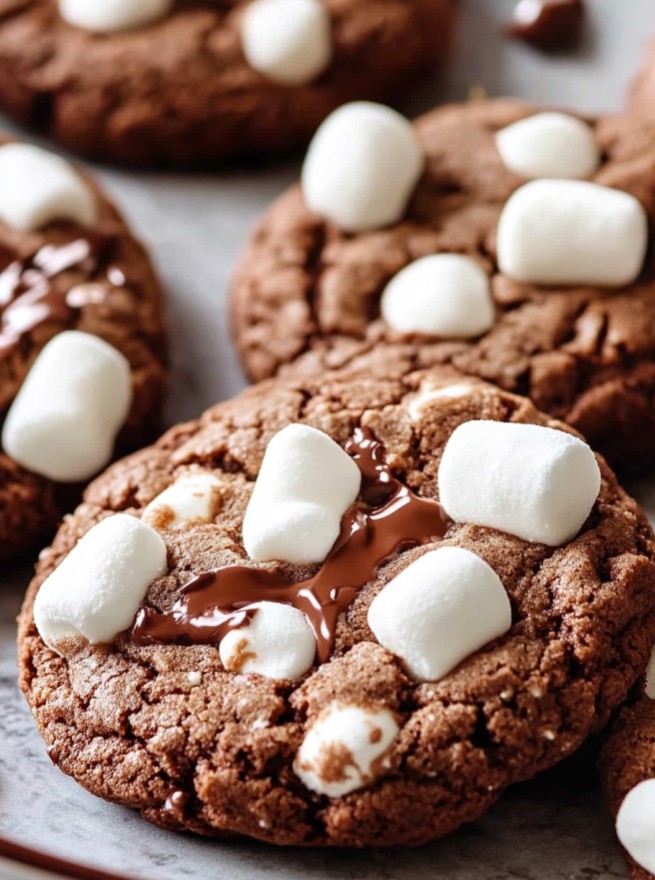
These Hot Chocolate Cookies are a delightful winter treat that combines the charm of hot cocoa with the satisfaction of a chewy, fudgy cookie. They’re effortless to prepare, requiring just one bowl and no chilling time. Perfect for a quick, indulgent dessert, they come together in about 30 minutes. Each cookie is centered around a melty truffle, offering a surprise burst of molten chocolate.
Save This Recipe! 💌
- Cuisine: American
- Prep Time: 10 minutes
- Cook Time: 8-9 minutes
- Total Time: 30 minutes
- Servings: 15 cookies
Why You’ll Love This Recipe
- Quick and easy, ready in just half an hour.
- No chill time required, perfect for immediate baking cravings.
- A delightful mix of textures: soft cookie, gooey chocolate center, and crunchy peppermint topping.
Ingredients
- ¾ cup brown sugar (packed): Provides moisture and depth of flavor.
- ½ cup granulated sugar: Adds sweetness and structure.
- ¼ teaspoon sea salt: Balances the sweetness and enhances overall flavor.
- 1 large egg (room temperature): Binds the ingredients and supports leavening.
- 1 cup melted butter (cooled to about room temperature): Adds richness and helps with texture.
- 1 tablespoon vanilla extract: Adds a sweet aromatic note.
- 2 1/4 cups all purpose flour (270g): Forms the base structure of our cookies.
- ½ cup natural cocoa powder (50g): Provides the chocolate flavor. Use Dutch-process as a substitute for a deeper color and less acidity.
- ½ teaspoon baking soda: Leavens the cookies, making them soft and tender.
- ¾ cup marshmallow fluff: Creates creamy swirls. Sub with more dried marshmallows if unavailable.
- 15 truffle chocolates: Serve as the gooey center. Regular milk chocolate truffles can be used if peppermint ones aren’t handy.
- 2 candy canes (crushed): Adds a festive crunch.
- 3 tablespoons mallow bits (dried mini marshmallows): Offer texture contrast and a visual treat.
How to Make It
Step 1: Prepare the Truffles
Place the truffle chocolates into the freezer at least 30 minutes before starting your recipe. Pre-freezing ensures the chocolate center remains intact and molten during baking.
Step 2: Make the Dough
In a large bowl, combine the brown sugar, granulated sugar, sea salt, and egg. Whisk together until the mixture is thick and creamy, forming ribbons as it drops from the whisk. This aerates the mixture, providing structure upon baking.
Step 3: Incorporate the Butter
Add the melted and cooled butter along with the vanilla extract to your egg mixture. Whisk until well-combined, ensuring no butter separation, which maintains a smooth dough texture.
Step 4: Mix Dry Ingredients
Sift the flour, cocoa powder, and baking soda directly into your wet ingredients. Fold carefully until the dough is smooth and homogeneous, stopping when no dry flour streaks remain to avoid overworking the dough.
Step 5: Incorporate the Marshmallow
Spread marshmallow fluff on top of the dough and fold three times. This integrates chunky swirls of marshmallow throughout our cookies, creating delightful spots of gooey sweetness.
Step 6: Assemble the Cookies
Using a 1 ½ tablespoon-sized cookie scoop, portion the dough. Insert a frozen truffle into the center of each scoop, encasing it with dough while leaving part exposed to prevent it from melting excessively onto the baking sheet.
Step 7: Bake
Place stuffed cookie dough balls onto a parchment-lined baking sheet, leaving a minimum of 2 inches between each. Bake for 8-9 minutes at 355°F (180°C). Remove while slightly underbaked, as they will continue to set as they cool for that perfect gooey texture.
Recipe FAQs
Can I use different types of chocolate truffles?
Absolutely. Feel free to experiment with any milk or dark chocolate truffles to match your taste preferences. Note that flavor variations will alter the final flavor profile slightly.
What if I don’t have marshmallow fluff?
If marshmallow fluff isn’t available, increase the amount of mallow bits for additional chewy texture pockets, though the visual swirling effect will be reduced.
How do I store these cookies?
Store cookies in an airtight container at room temperature for up to 5 days. For longer storage, freeze them, ensuring proper wrapping to prevent ice crystal formation and preserve freshness.